
In this post, we are going to share some general tips but keep in mind that each bike is different and to know how to prepare it for winter properly, please refer to your repair and motorcycle manual.
For this post, we are going to show motorcycle winter preparation for the 1997 Honda Magna VF750C2. The bike will be stored in the garage for several months.
To get started, we will need the following things:
- Maintenance and repair manual.
- For washing the bike: a bucket, car washing soap, a sponge, running water, and a hose.
- For changing oil: socket wrench, motorcycle engine oil, oil filter, oil funnel, oil pan.
- For fuel tank: gasoline to fill in the whole tank, gasoline stabilizer.
- For the protection of exhaust pipes: special exhaust plugs or dense plastic bags and rubber bands for fixing them.
- For removing and saving battery: sets of screwdrivers and socket wrenches, battery trickle charger.
- For paint protection: motorcycle cover.
Step 1: Changing motorcycle oil
To ensure that when the spring comes, your bike is ready to ride, make sure to change the engine oil after your last ride of the season before winter. To choose the best oil, make sure you check your motorcycle repair manual for your particular model.
What do you need for this step?
- Bike and repair manual
- Oil filter
- Motor oil
- Socket wrench
- Oil pan
- Oil funnel
The typical instruction includes the following oil change stages:
- Remove the engine oil drain plug with a socket wrench.
- Let the oil drain completely into the oil pan.
- Remove the old oil filter. Dip a finger into the old oil and rub it at the ring on the new filter to ensure it will properly seal.
- Put the new filter in place and tighten it with your hand.
- Replace the oil drain plug and tighten it with a socket wrench.
- Find in your repair or motorcycle manual where you can find the oil cap. Remove it.
- Then, using the oil funnel, fill in the engine with the required amount of oil. Put the oil cap back and tighten it with your hand.
Note: One of my biker friends also advises cleaning the carburetors, so they become messy during the winter. It is an excellent idea if you plan to store your bike for three or more months. You can get even more tips in the technochat of our CryptoMoto app for motorcyclists.
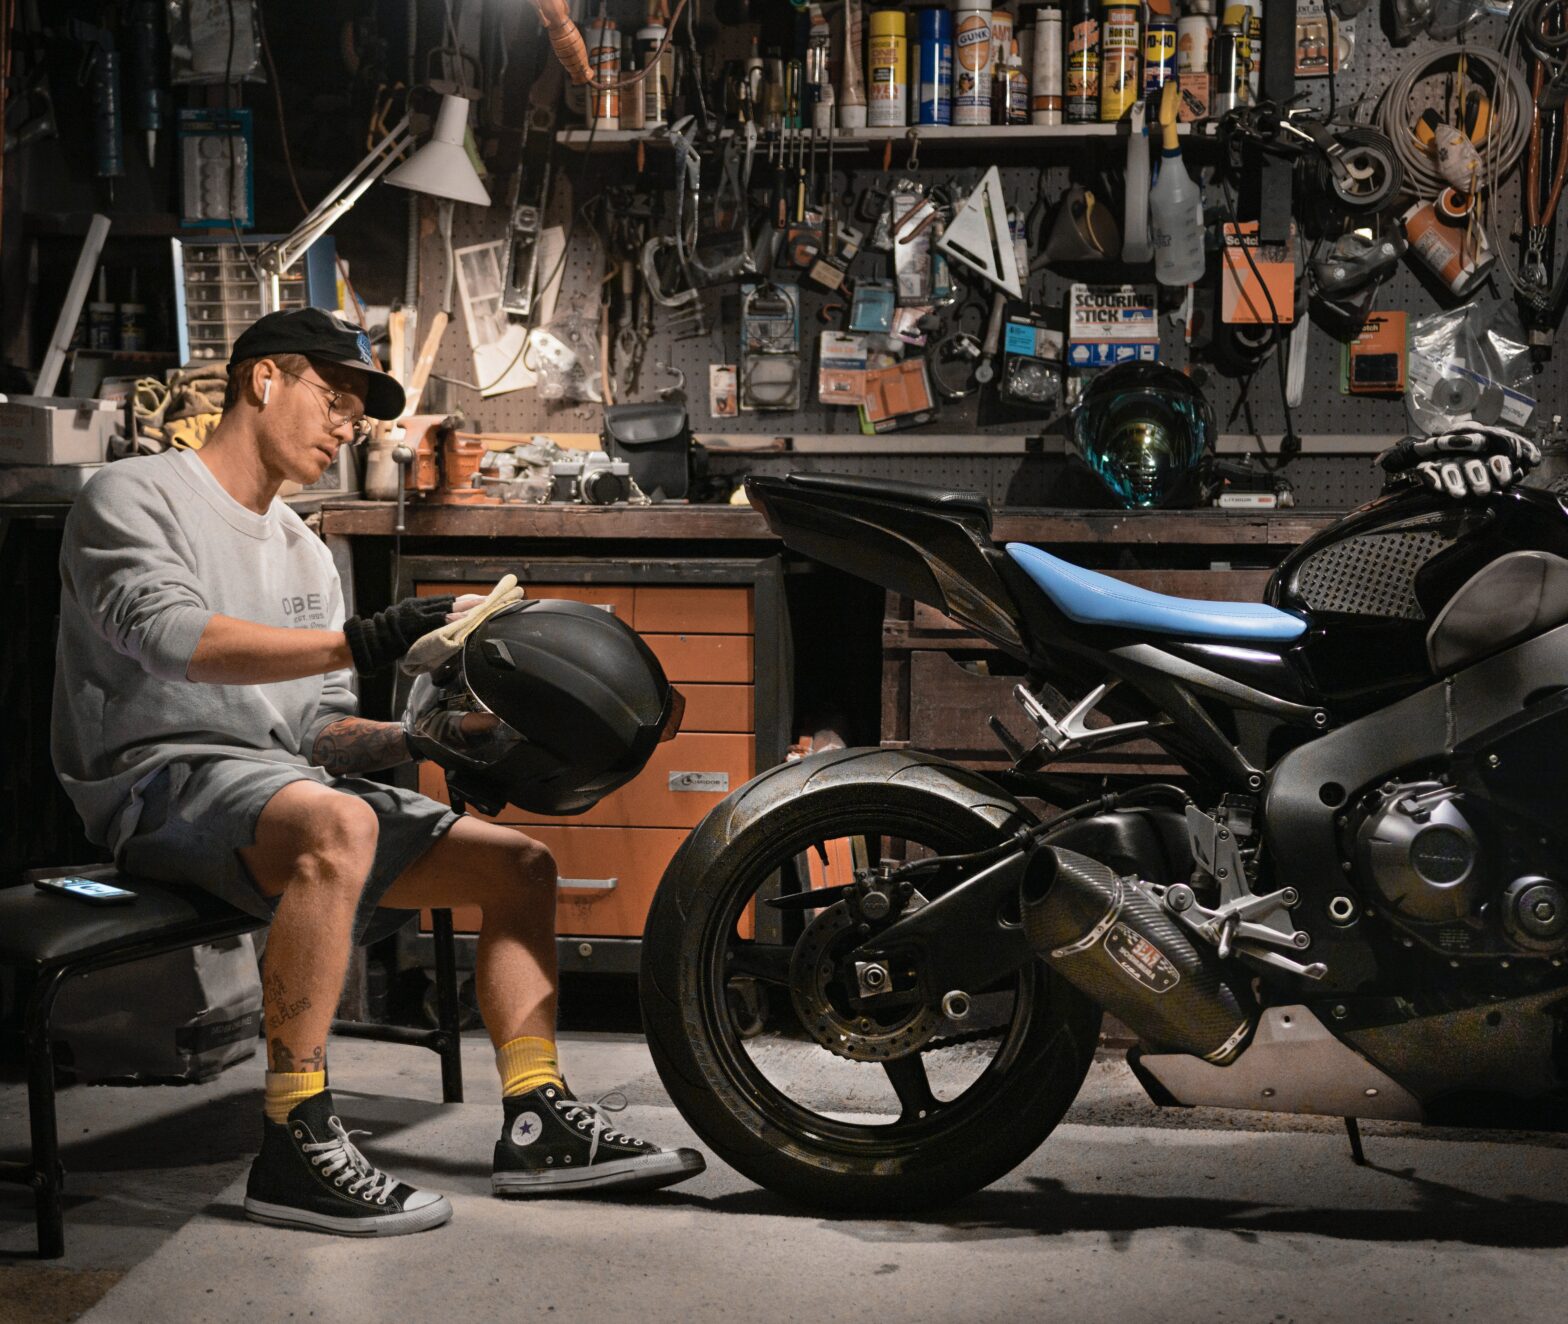
Step 2: Washing your motorcycle
Suppose you don’t wash your motorcycle before storing it for the whole winter. In that case, the accumulated dust and dirt can damage the original bike’s paint. Thus, we highly recommend you go through this step thoroughly.

What do you need for this step?
- Special motorcycle soap
- Big sponge
- Bucket
- Running water and a hose
First, wet the motorcycle with running water, then dissolve soap in the bucket of water and thoroughly soap up all of the parts. Wash the soap off and let your bike dry in the sun.
Step 3: Filling your gas tank
You may wonder why you would need to fill in your tank if you don’t plan to ride your bike for three months. The answer is simple – the full tank of gasoline will spare you from an array of issues, such as rust in the tank and gunk and forming in the engine.
What do you need for this step?
- A canister of gasoline
- Gas-stabilizing chemical (for example, Sta-bil)
Start this step once your bike has fully dried after the wash.
- Fill in three-quarters of your fuel tank.
- Read the instruction for the gas-stabilizing chemical you are going to use and add it accordingly. For instance, Sta-bil instruction tells us to add 30 ml for 2.5 gallons of gasoline. My fuel tank capacity is 3.7 gallons. Thus, I add 45 ml of this gas stabilizer.
- After adding it, fill the tank with the rest of the gasoline till it’s full.
- After doing so, put the gas cap on and start your bike. Run it for 5-10 minutes to ensure that the gas stabilizer treats the entire fuel system to protect it from rusting.
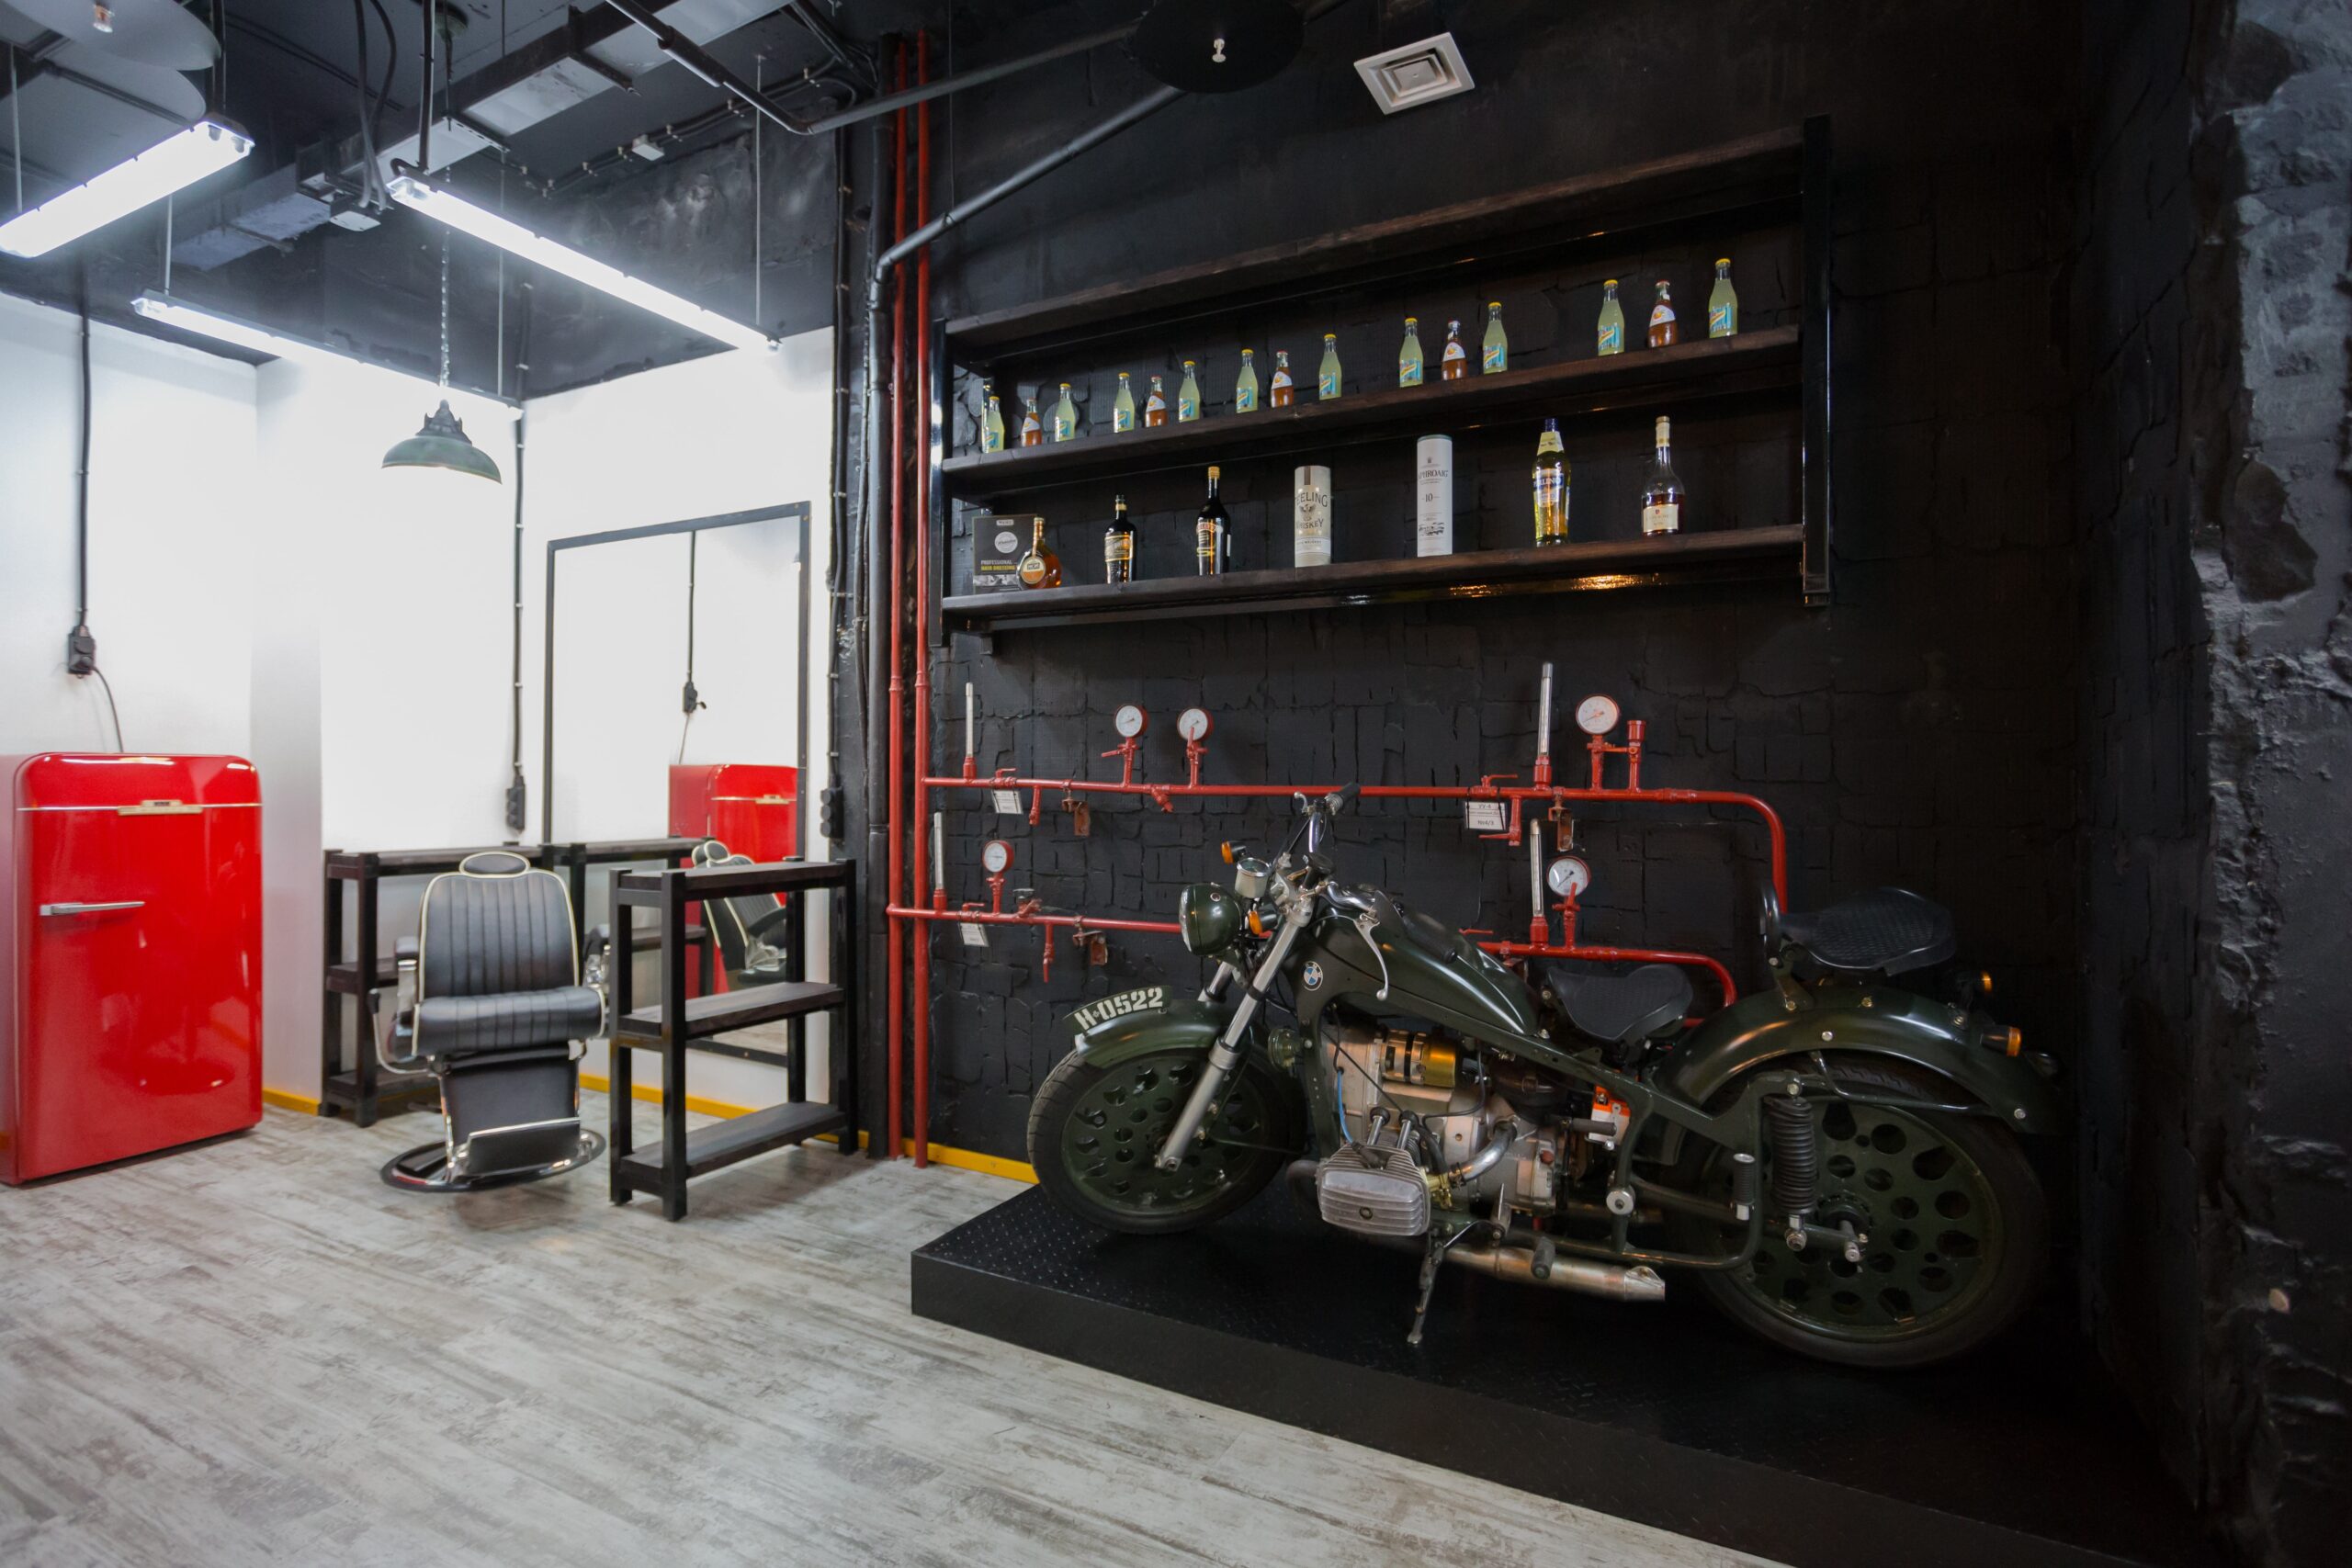
Step 4: Moving the motorcycle to the storage location
What do you need for this step?
A warm and dry garage, shed, or parking spot.
The best place to store your bike during the winter is a dry and warm garage or a shed. If you don’t have it, of course, you can leave it in your parking spot. Turn the engine off and let the bike cool down.
Step 5: Covering the exhaust pipes
It is needed to prevent little animals from getting into warm places like mufflers during the winter as they are really prone to do so.
What do you need for this step?
The best thing to use for this step is special motorcycle exhaust plugs. Alternatively, you can use dense plastic bags and rubber bands if you can’t find the plugs.
If you do find special plugs, just put them into the exhaust pipes. If not, just wrap a plastic bag around the exhaust pipes’ openings s and fix it with a rubber band (condoms are also used for these purposes).
Step 6: Removing the battery
What do you need for this step?
- Socket wrench set
- Screwdriver set
- Motorcycle manual and repair manual
The best way to start this step is to open your manuals and follow the instructions for your particular bike model. Usually, the first thing you would need to do is to remove the motorcycle seat. Then, unscrew the battery connectors using a corresponding screwdriver. Take out the battery from the battery case. You must remember what side was attached to the red wire as it is the positive wire. It is crucial to remember to reattach the battery for the next season and to attach it to the charger for the winter. Then, place the motorcycle seat back on.
Step 7: Connecting the battery to the charger
To ensure that the battery stays charged for the whole winter when you won’t be using your bike, you need to connect it to the trickle charger. It provides a stable low electricity stream and ensures the battery doesn’t die.
What do you need for this step?
- Your motorcycle battery
- Trickle charger
- Socket
- Before plugging in the charger, connect the red clamp to the battery to where the red wire was attached. On some batteries, there is also a “+” sign. But even if it’s not there, remember that red always means positive.
- Then connect the black clamp to the negative side. Keep in mind that clamps must not touch each other. Otherwise, there could be a spark or electric shock.
- Once you’ve done connecting, plug the charger into a socket.
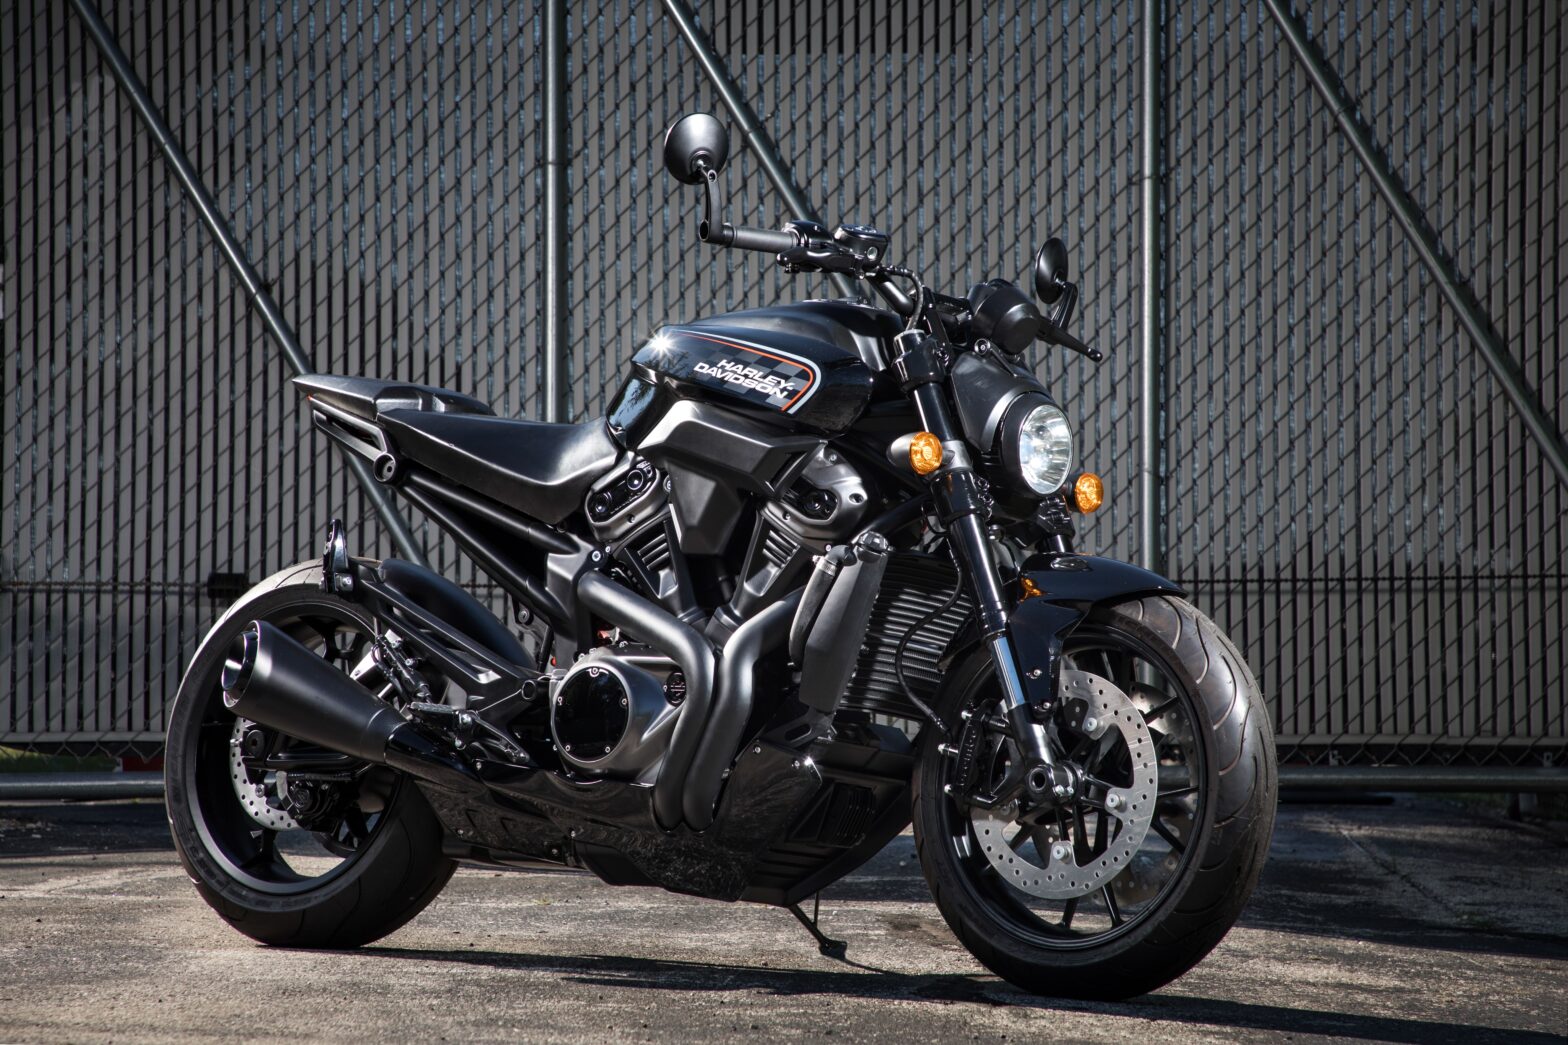
Step 8: Covering your motorcycle
You need just a motorcycle cover
Naturally, a bike cover is crucial if you are going to store your bike outside. It will protect it from rain, snow, ice, wind, and so on, which can affect the paint and cause rust. However, extra protection is always a good idea, even if you store your bike in a garage or shed.
That’s it! Your iron friend is now ready for the winter! However, if you want to walk an extra mile, you can remove the covers from the mufflers, reinstall the battery, and start the engine once a month. It definitely requires more effort but pays off with even better protection of the engine and carburetors. After that, you would need to repeat all the steps from 5 to 8.
Download the App
Find your place in the Motorcycle Universe.

Advertise with us

More on Maintenance

8 ways to improve your motorcycle
The modern market offers many options to enhance a bike’s operational qualities, such as improved brakes, exhaust systems, accessories, upgraded lighting, engine components, and electronics. In the right hands, all of these components have the potential to transform a motorcycle… Continue reading 8 ways to improve your motorcycle
Why do motorcycles have catalytic converters?
The simplest way for a motorcycle manufacturer to meet those standards is to install a catalytic converter. Thus, currently, the majority of modern bikes have them. What is a catalytic converter in a motorcycle? A catalytic converter is a device… Continue reading Why do motorcycles have catalytic converters?

DIY motorcycle repair
What a marvelous idea if you already have experience repairing your bike and know how to approach it! But what if you don’t? You can’t just give up on your bike because of that! In our large-scale CryptoMoto application for… Continue reading DIY motorcycle repair
More on Protection

How to prepare your motorcycle for the season
Why is preparation necessary? In order not to worry about sudden breakdowns, repairs or bald tires when riding. Correctly bring the motorcycle out of “winter hibernation” Having removed the protective cover, probably the first thing you want to do is… Continue reading How to prepare your motorcycle for the season

How to overcome fear after a motorcycle accident
Experienced bikers claim that life is divided into “before” and “after” from the moment they get their first bike. Psychologists say that, in fact, it is divided into before/after an accident. Falling off a motorcycle definitely is a very unpleasant… Continue reading How to overcome fear after a motorcycle accident

Riding a motorcycle in winter – useful tips
Obviously, winter riding requires special gear for you and your bike to better withstand weather conditions. Besides, it’s reasonable to get the motorcycle checked by a specialist to ensure it’s ready for winter riding. Preparing your motorcycle for snow riding… Continue reading Riding a motorcycle in winter – useful tips

